Pages

Showing posts with label top. Show all posts

Wednesday, November 7, 2018

Belated Updates

I've been a bit slack updating the blog of late. Summer was busy with non-luthier stuff and life just gets in the way sometimes. I have however not been completely ignoring luthier work however. I've actually got a fair bit done over the last few months considering all the others things going on in life..

First off someone in the small orchestra Julie plays in had a cello in need of repair/restoration. Turned out to be an Englehardt Cello, a pretty cheap student model but apparently pretty common in school music programs. The cello was the victim of and attempt at refinishing that was at best misguided.. It was also missing most of the parts like a bridge, tuning pegs, tailpiece and sound post. Anyway this got those parts replaces and a new finish put on it.. It is going back to a local music program, It was interesting to do as I am really not a repair person.

The only "before" I did, after I removed the rest of the finish

Ready to be played again


Also the next builds are well underway, those are an Irish Bouzouki and a Octave Mandolin, both built as flat top guitar bodied instruments. The Bouzouki will be Rosewood and Spruce and the OM Honduran Mahogany and Cedar. I started by making the bindings for these, I've been meaning to try my hand and making my own bindings with purfling for some  time so it was good to try that and it worked out great.

The Setup for cutting thin binding strips with a slitting blade on a small table saw

The end result

I've also got the sides bent and glued up to the end blocks for both instruments and the tops and backs well on the way to being done.. Just starting to brace up the tops today..


Here I'm doing the rosettes..


And here are one of the backs and top bracing underway.


Thursday, March 15, 2018

Progress on L-0 Style Guitars

Things are going good with these three.. Same body shapes different backs and sides and different bracing patters but all Sitka tops.

One of the goals of this build set is to refine and update a few procedures to work better with the space and equipment I have.. One thing that is very useful in building that I don't really have room to leave set up is a go-bar deck. So trying out using a vacuum bag and radius-ed work board to glue on top and back braces.


L-0 "H" bracing in a vacuum bag

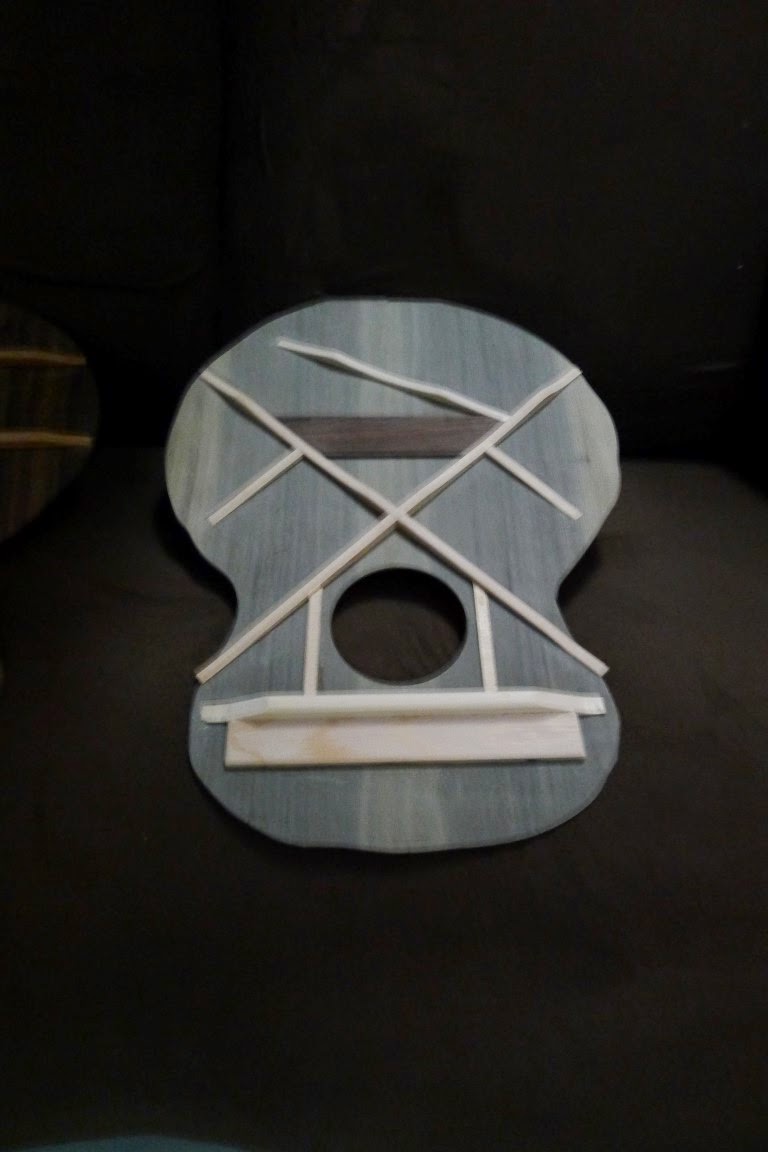
Start of a double "X" brave in the bag

Bending sides

Completed double "X" glued to it's sides


Closing boxes

Monday, December 5, 2016

Tops Done

So the Ukulele top and the Guitar top are braced and voiced ready to go on the rims.

I'm bending new Ukulele rims as I was not happy with the original, oh well that's the way it goes sometimes.

Hopefully I can get the boxes closed in the next few days.

The guitar top still needs the cut out removed but I am doing that after it is braced and voiced, not sure if that is the correct approach but that's how I'm doing this one.


Saturday, September 12, 2015

Joining the Tops & Backs

A quick plane on the shooting board and the top and back halves are ready to be glued together. Lots of ways to do this, I use a pretty simple jig of 4 sticks and 4 wedges and some rope.. Works for me.


Once joined they get rough thicknessed and you have tops and back to two Parlour Guitars.

The Pacific

Cedar & Rosewood - I ended up changing this top as it was just too thin.
It will have to be a Uke some day


Sunday, May 24, 2015

Carving a Mandolin Top

I'm making progress on carving the top for this Sobell/Kay style mandolin..

I confess I used all the tricks to speed up the process like a drill press to set the curve and a safty planer to rough out the shape but still of course finishing it with finger planes...

Figuring out the arch

Lots of wood chips

After a bit of sanding


Thursday, January 8, 2015

Back to Work on the Tenor Guitar

Now that the holidays are over i can get back to doing some work on the tenor guitar.

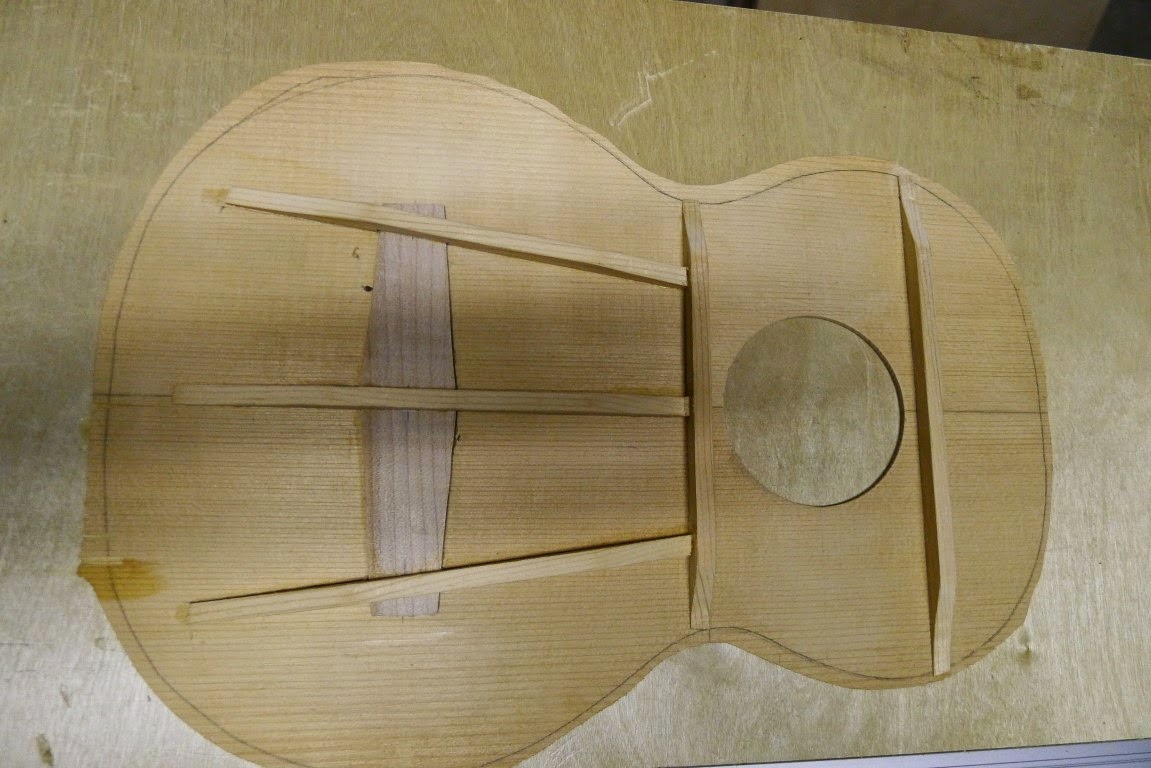
I've glued down the braces on the top and back and carved them to shape and the top is more or less voiced, I just need to think a bit about it and decide if I want to try and push things a bit farther and carve the braces down a bit more.

A "quick" video of rough carving the back braces, actual time about 18 minutes
http://youtu.be/pNuLS7FQ8tQ

The rough braces before carving

Top after carving

Back after carving


Saturday, September 27, 2014

Progress on a Couple of Tenors

Tenor Guitar and Tenor Ukulele that is..

Things seem to be going good, I've got most of the body parts for both thicknessed all that is left is the tenor guitar top once the rosette is installed. The top and back for the Uke are braced and I guess I should think about bending the sides.

All in all going pretty good.

Tenor guitar top with rosette cut and ready to install

Tenor Uke back

Tenor Uke Top

Waiting for sides

Top with the Rosette

Simple rosette design for a small body

Sunday, February 23, 2014

Some Work on Both Guitars

So I cut the sound hole  & bound it on Rick's tenor and finished bringing all the body parts to thickness.. I also cut he sides to rough depth on both the tenor and the parlour.

Then cut out the body shape in the top and back of both. Now ready to bend sides and brace the top and back..

Completed rosette and sound hole binding

Two tops and back


Saturday, February 15, 2014

Rick's Tenor

My friend Rick asked for a tenor guitar for GDAE tuning.. I think we have come up with a design that works for that.. Basically a Martin Size 5/Terz with a 21.375" scale but of course only 4 strings :-)

Walnut back & Sides with a nice Bearclaw Sitka top..

Just jointed & started to thickness the top.. Probably the stiffest top I've worked with but that should make for a good guitar in the long run (I hope)

The Top

And rubbed down a bit to show the figure...

Sunday, February 9, 2014

Parlor Guitar

So I've started the Parlor Guitar, the back & top are jointed and thicknessed and so are the sides. As well the rosette is installed complete with Zipflex Paua Shell purfling.. The Zipflex installation went well.

This is my first time building with Wenge and I've heard good things about it and it does seem to tap real nice but it's pretty brittle and tools need to be real sharp to plane, I'm also thinking pore filling is going to be a real chore as it has huge pores.....

Oh well it is suppose to sound great!

Planing the Cedar top to thickness

Gluing up the Wenge back

Running the Wenge rosette through my home made thickness sander,
The rosette is random pieces of Wenge with BWB purfling between them

Completed rosette and routed channel for it

Rosette installed and inlayed with the Paua shell
Closer view

See what I mean about pores.....


Tuesday, October 22, 2013

Bracing the Top

So time to cut the top braces to rough shape and glue them to the top. For the top I chose a 20' radius which is perhaps a bit tighter than normal but I believe (hope) it will work well with this instrument.

Gluing the X brace

Then the tone bars and finger braces

Next the upper transverse brace and plate (glues without a radius)

Lastly the soundhole supports (also without a radius)