Pages

Showing posts with label rosette. Show all posts

Wednesday, November 7, 2018

Belated Updates

I've been a bit slack updating the blog of late. Summer was busy with non-luthier stuff and life just gets in the way sometimes. I have however not been completely ignoring luthier work however. I've actually got a fair bit done over the last few months considering all the others things going on in life..

First off someone in the small orchestra Julie plays in had a cello in need of repair/restoration. Turned out to be an Englehardt Cello, a pretty cheap student model but apparently pretty common in school music programs. The cello was the victim of and attempt at refinishing that was at best misguided.. It was also missing most of the parts like a bridge, tuning pegs, tailpiece and sound post. Anyway this got those parts replaces and a new finish put on it.. It is going back to a local music program, It was interesting to do as I am really not a repair person.

The only "before" I did, after I removed the rest of the finish

Ready to be played again


Also the next builds are well underway, those are an Irish Bouzouki and a Octave Mandolin, both built as flat top guitar bodied instruments. The Bouzouki will be Rosewood and Spruce and the OM Honduran Mahogany and Cedar. I started by making the bindings for these, I've been meaning to try my hand and making my own bindings with purfling for some  time so it was good to try that and it worked out great.

The Setup for cutting thin binding strips with a slitting blade on a small table saw

The end result

I've also got the sides bent and glued up to the end blocks for both instruments and the tops and backs well on the way to being done.. Just starting to brace up the tops today..


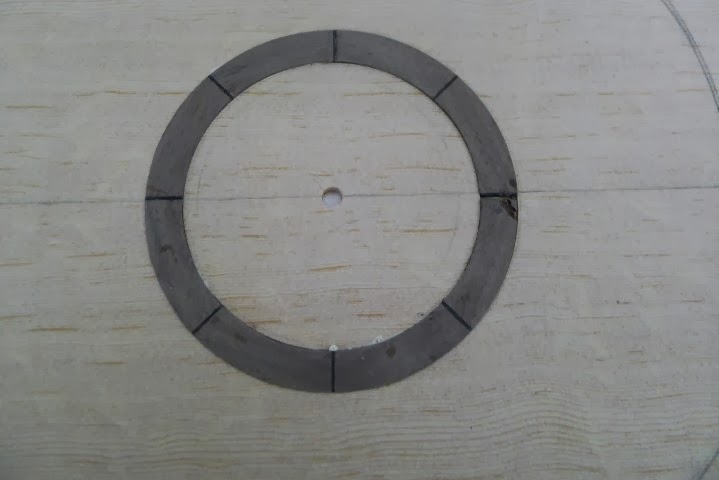
Here I'm doing the rosettes..


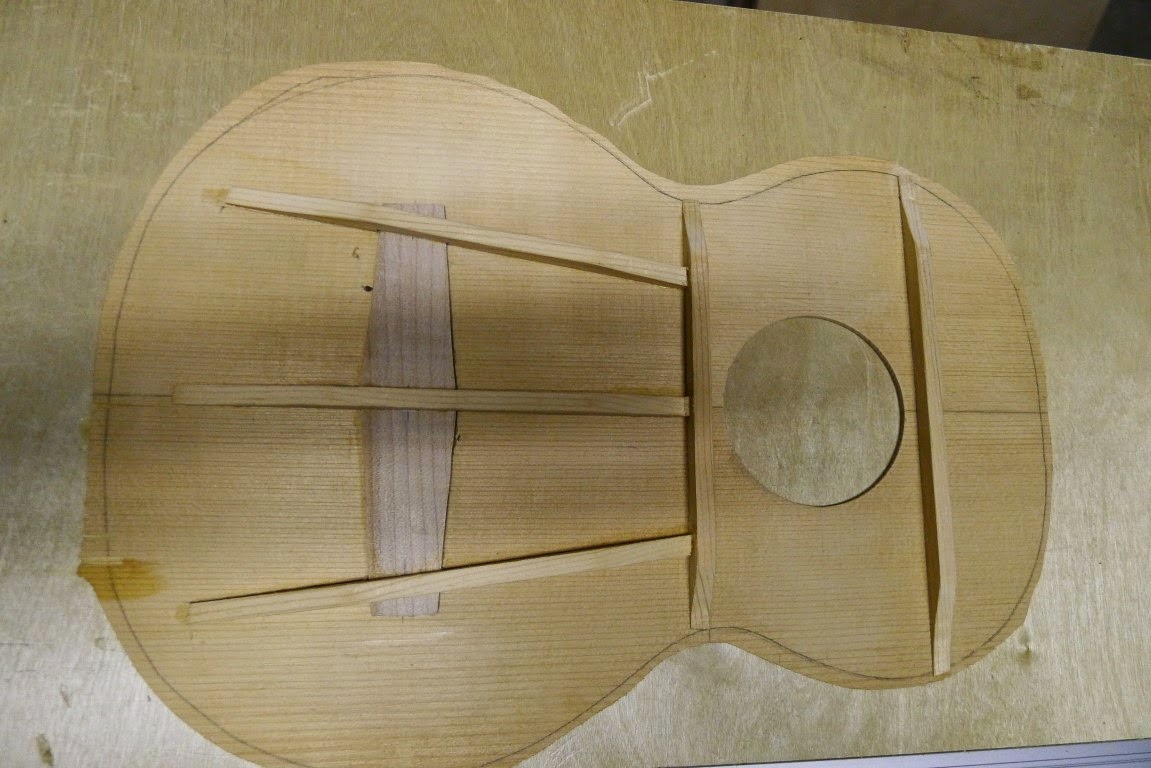
And here are one of the backs and top bracing underway.


Friday, August 26, 2016

More Rosette Work

Been doing a bit more work on the Crossover guitar rosette. It's done now except for a little bit of cleanup. I thin it turned out good, not how I originally designed it but good. I need to build a jig for making better more consistent segments.

With Guitar building there is always one more jig to build....

Cut to size and inlaid into the top

Outer & inner purfling added and planed down

Planed and scraped

Looks good.

Finished with the sound hole bound in black

Friday, August 12, 2016

Working on Rosettes

One of the nice things about doing this just for fun at this point is you can work at your own pace and on whatever interests you at the time so right now I feel like working on Rosettes..

Here is the progress on the Ukulele rosette, for this one I just used random pieces of scrap glued together.

Routing the pocket 

Just sitting there

Glued and leveled with purfling lines

Closer look
And here is a start on the rosette for the crossover guitar, lots more to do wit this one before it is ready to be glued in.
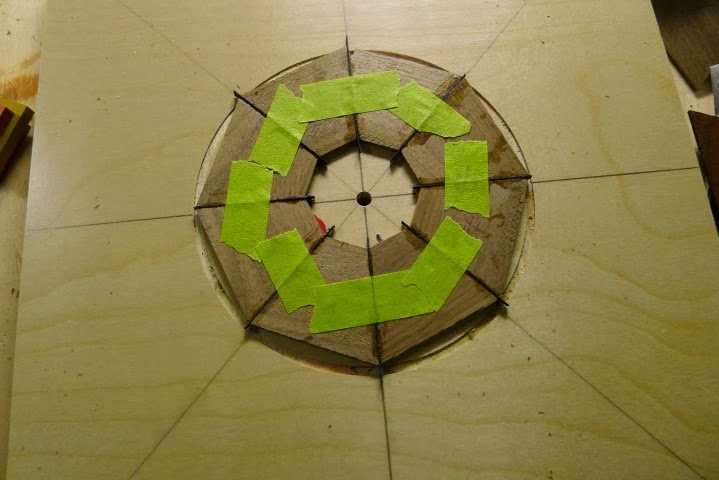
Walnut & Maple 8 segment


Monday, September 28, 2015

Back to Guitar Building

After playing with the new CNC rig for a bit I thought I better get going on these two Parlour guitars.. So I got the rosette finished on the Western red cedar & rosewood one so now both rosettes are done and I can move on to bracing and voicing..


Rosette for this one is spalted maple my first time working with this type of wood.


Tuesday, September 15, 2015

Finishing one Rosette

So to finish the rosette on the Koa top I just need to add inner & outer purfling I was using pre-glued up purfling so they were a bit of a pain to bend in the circle as they tend to come apart as the glue heats bit it did work out in the end

I'm happy with the look of this one..


Saturday, September 12, 2015

Rosettes

The Pacific Parlour gets a figured Walnut rosette and the Cedar & Rosewood one gets a Spalted Maple rosette. My first time working with Spalted Maple pretty "punky" as they say but turned out ok.

Spalted Maple

cut out, it gets a thin black outline when installed

Walnut being glued up

Cut out, it will get a white/black/white purfling border

Saturday, September 27, 2014

Progress on a Couple of Tenors

Tenor Guitar and Tenor Ukulele that is..

Things seem to be going good, I've got most of the body parts for both thicknessed all that is left is the tenor guitar top once the rosette is installed. The top and back for the Uke are braced and I guess I should think about bending the sides.

All in all going pretty good.

Tenor guitar top with rosette cut and ready to install

Tenor Uke back

Tenor Uke Top

Waiting for sides

Top with the Rosette

Simple rosette design for a small body

Sunday, February 23, 2014

Some Work on Both Guitars

So I cut the sound hole  & bound it on Rick's tenor and finished bringing all the body parts to thickness.. I also cut he sides to rough depth on both the tenor and the parlour.

Then cut out the body shape in the top and back of both. Now ready to bend sides and brace the top and back..

Completed rosette and sound hole binding

Two tops and back


Friday, February 21, 2014

Finishing the Rosette and Jointing the Back

The rosette is now finished and the top is planed and sanded to thickness, in this case looks like 2.6mm is it.. or at least as far as I have the guts to go..

Rosette installed in the guitar top

The inner & outer purfling lines added.

I've also got the back jointed tonight, and maybe I can get it down to thickness tomorrow..

Using a shooting board to get the joint smooth

I can never quite get it as smooth as I want with the hand plane
but a couple of passes with some 220 grit paper
on a framing square does the trick.

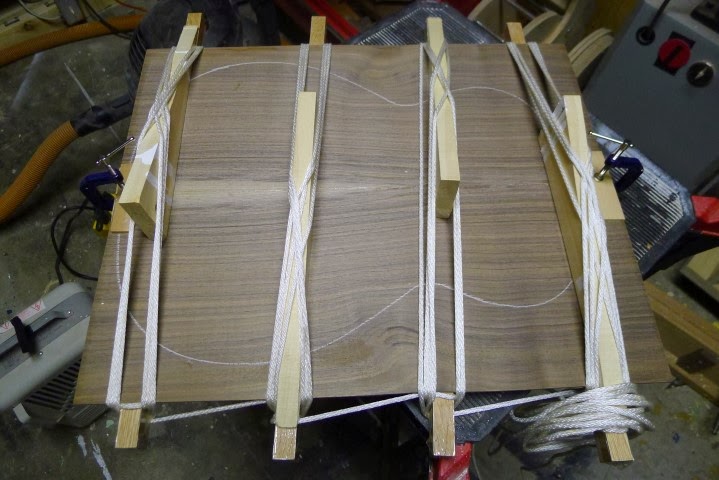
All clamped up the simple old fashioned way

So once the back is to thickness things can start coming together to look like a guitar....


Monday, February 17, 2014

Another Rosette

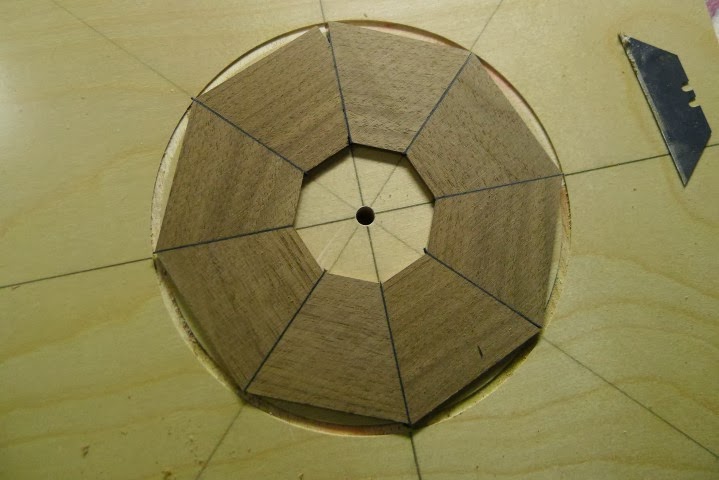
OK for Rick's tenor I thought I would get away from the random rosette and go with an 8 piece with black purfling between the pieces and around the rosette..

Since the back and sides are Black Walnut and I have a couple of chunks of that laying around, that's what got used..

First cut some thin strips on the table saw. then cut those strips into pieces with a 22.5 deg angle on each side..


Then glue the pieces together with a 1mm strip of black purfling between each..

Glued up (fish glue)

all cleaned up
Then secure the whole thing a route out the rosette shape


Turned out pretty good, one piece came apart during the routing, but re-glued and that gets to be the part under the fingerboard extension :-)

Next Step is to route the channel into the top..


Sunday, September 29, 2013

Top and Final Work on the Soundhole

Next step is to thickness the top and then cut out the soundhole, the soundhole is also bound in BW Purfling.. Turned out pretty good..

The aftermath of planing the top to thickness

Soundhole cut and bound

Completed

Closeup

After that the top gets cut to rough size..