Pages

Showing posts with label braces. Show all posts

Monday, March 9, 2015

Archtop Progress

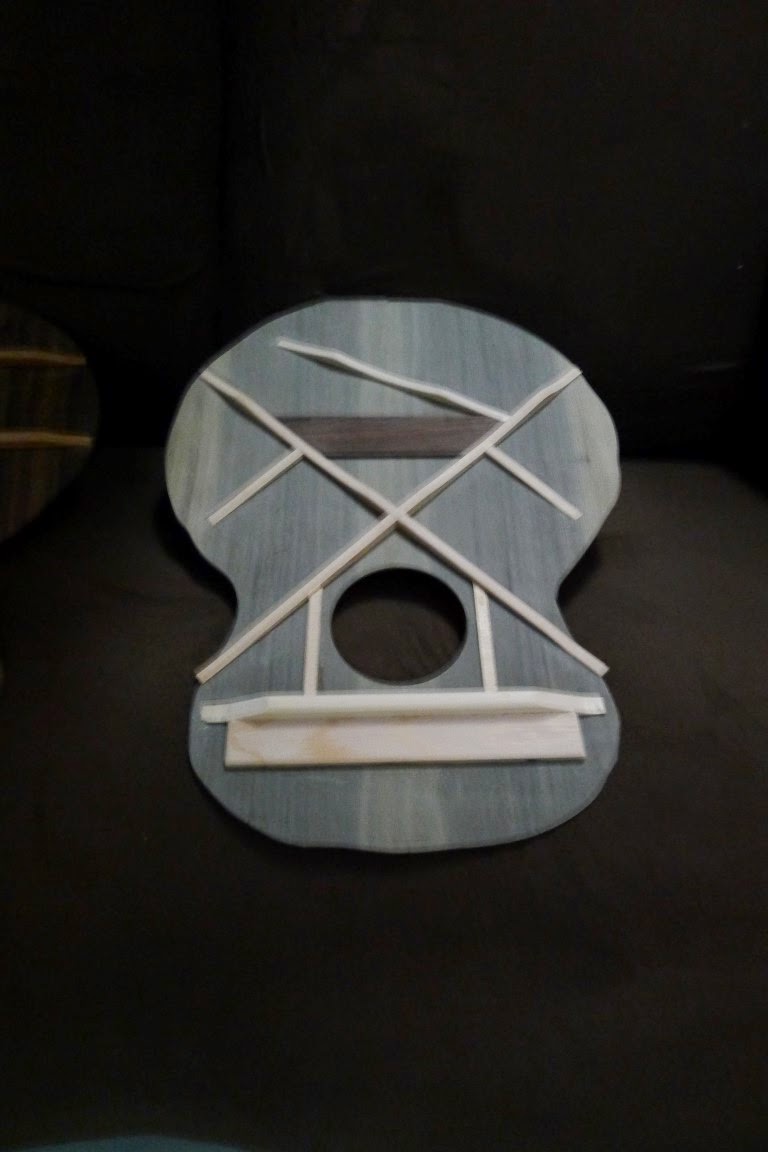
So the top and back are carved to the point where they can be glued to the rims and have the re-curve carved then. The top has also had the braces shaped & glued on and it has been voiced to the best of my ability..

Today I planed the sides down to 2mm ready for bending.

Looks about right I think

And with the braces on the top

Sides ready to be bent

Thursday, January 8, 2015

Back to Work on the Tenor Guitar

Now that the holidays are over i can get back to doing some work on the tenor guitar.

I've glued down the braces on the top and back and carved them to shape and the top is more or less voiced, I just need to think a bit about it and decide if I want to try and push things a bit farther and carve the braces down a bit more.

A "quick" video of rough carving the back braces, actual time about 18 minutes
http://youtu.be/pNuLS7FQ8tQ

The rough braces before carving

Top after carving

Back after carving


Thursday, March 13, 2014

Tenor & Parlour Work

I'm trying to get the Parlour guitar caught up to the Tenor... Almost there..

The Bindings are on the tenor and they turned out very nice..

Top View

Only the top has the back purfling line to separate the binding & top
And from the side, simple & nice

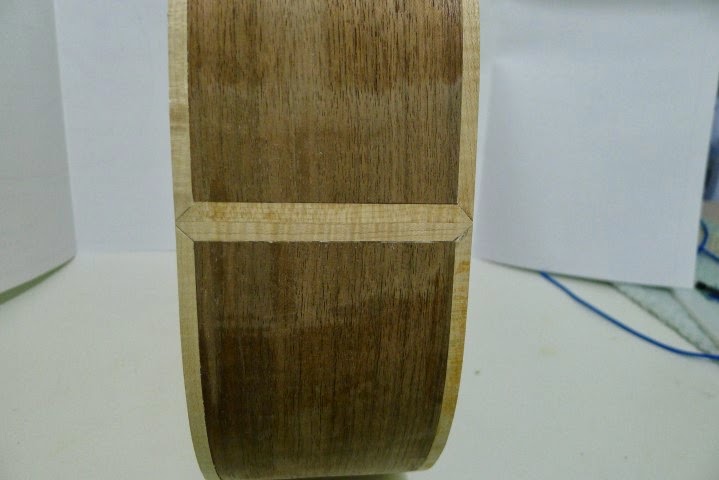
Simple end wedge

Now for the parlour the end blocks are on, the kerfing is done the top & back are braced and the back has the braces carved and is ready to go on the top.. Just need to carve the top braces and get it voiced and  then I can radius the sides and get the box closed hopefully in the next day or two..

Then on with the necks..

Rough back bracing

Bridge patch last of the top bracing

More clamps

Braces shaped & back label on 


Thursday, March 6, 2014

Voicing the Top

So voicing the top to me means carving the braces down until I get some sort of tap tone on the top that is musical and has a ring and sustain to it.. Pretty subjective really, there are other means that are more mechanical and use various scientific equipment but I really don't have the interest in learning those or buying yet more equipment.. The method I use has been used for a very long time and can be very successful.


Top with rough bracing

Carved and scanded braces

Back braces also sanded

Top and rest of body ready to be closed up.


Tuesday, October 22, 2013

Bracing the Top

So time to cut the top braces to rough shape and glue them to the top. For the top I chose a 20' radius which is perhaps a bit tighter than normal but I believe (hope) it will work well with this instrument.

Gluing the X brace

Then the tone bars and finger braces

Next the upper transverse brace and plate (glues without a radius)

Lastly the soundhole supports (also without a radius)

Sunday, October 13, 2013

Bracing the Back

So the braces for the back are cut and sanded to a 15 foot radius then rough shaped on the band saw.

Then glued on in a go-bar deck..

Ready for final shaping and a quick voicing of the back.


Thursday, February 21, 2013

Bracing and Voicing the Top

THis will be the first time I have voiced a ladder braced top. I went about it the same way as I would for a X braced top. Tapping and reducing the braces until I got a "musical" tone I liked out of the top. With ladder braces this is a pretty easy process.

I did modify the braces slightly from the plans, I upper most brace is heavier and the lower most was rotated to a vertical orientation instead of the horizontal called for on the original plan.. I'm hoping this will give the top a longer life, some of those old guitars sounded good but were a bit under built..
using a go-bar deck & radius dish to clamp the braces

rough braces glued on


Finished voicing, braces at their final shape