Pages

Showing posts with label walnut. Show all posts

Tuesday, February 24, 2015

Carving Archtop Plates

My weekend working with Joe Egan of Egan Custom Guitars turned out great lots of good tips and progress carving the top and back for the Archtop Tenor Guitar I have in mind. Joe estimates a novice takes up to 40 hours for the top and similar times for the back. I've got about 15 hours into the top and maybe a 2 into the back so lots left to do but the top is looking like  it should, just really a bit more graduation to do and then once it is glued to the sides the recurve can be finalized.

The back has a long way to go and is certainly harder to carve than the top, or at least the wood is harder, the top has more tricky parts & graduations wile the back is pretty much a constant thickness

It's been fun even if it has caused a good number of blisters..
After about 4 hours, shape is roughed out

After about 15 hours the shape is finalized and my version of "f" holes are cut

A small start on the back


Wednesday, February 26, 2014

Side Bending

The next step in Rick's Tenor is to bend the sides, actually you could to several things next but I chose to bend the sides. It's my first time bending Walnut but it is suppose to bend easy and it did.. I also bent the Maple bindings. The process went well with no surprises.

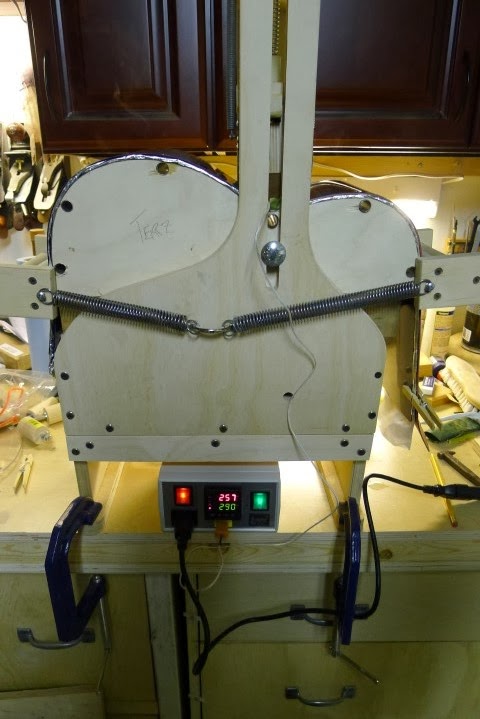
I use a Fox style bender with a heating blanket and controller

After bending the sides are cut to length and placed in the form to help them hold shape until the end blocks and linings are installed.

Wrapping the sides for bending, parchment & foil
Sandwiched in the bender, spring steel - side - blanket - spring steel

Temp going up, max set to 290 which I did not even get to bending

Bend complete

Sides all trimmed and in the mould..
Next step will be routing the mortise in the neck block and gluing the blocks to the sides

Monday, February 17, 2014

Another Rosette

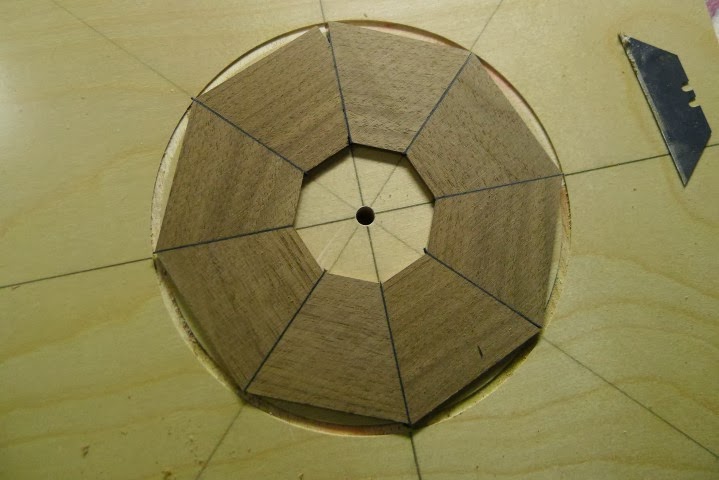
OK for Rick's tenor I thought I would get away from the random rosette and go with an 8 piece with black purfling between the pieces and around the rosette..

Since the back and sides are Black Walnut and I have a couple of chunks of that laying around, that's what got used..

First cut some thin strips on the table saw. then cut those strips into pieces with a 22.5 deg angle on each side..


Then glue the pieces together with a 1mm strip of black purfling between each..
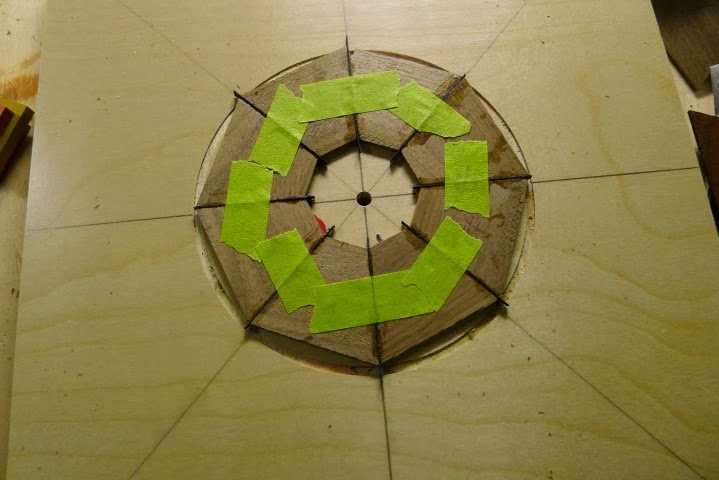
Glued up (fish glue)

all cleaned up
Then secure the whole thing a route out the rosette shape


Turned out pretty good, one piece came apart during the routing, but re-glued and that gets to be the part under the fingerboard extension :-)

Next Step is to route the channel into the top..