Pages

Showing posts with label inlay. Show all posts

Wednesday, April 4, 2018

Some CNC Work

I don't really use the CNC much for actual building more for templates & jigs, but I do use it to route the head plates and cut the pockets and inlay pieces, it's just more accurate than I am..

So her are three head plates for the L-0 guitars and three inlays, Koa, Walnut & Indian Rosewood with Black Lipped Mussel, White MoP and Gold MoP  ...


Wednesday, January 24, 2018

Head Plates and Inlay

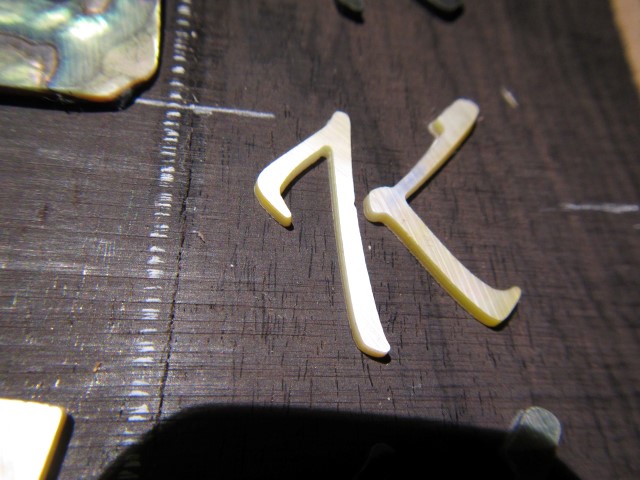
Working on the head plates for the Cello Guitar and Tenor Ukulele. Wenge for the Ukulele and Indian Rosewood for the guitar.. Both with a Abalone "K"...

Head Plates and Inlay

Inlay inserted

Bound head plates with inlay


Thursday, October 15, 2015

X-Carve CNC Inlay

OK I've done some tests with the X-Carve for inlay with actual shell and actual parts I'll use on future guitars...

Pretty darn happy, the first one took bit of playing to get the offsets right but after that all pretty quick & easy.


Saturday, January 31, 2015

Making Good Progress

I've done a fair bit of work over the last week. The neck has a peghead veneer, and the peghead is routed to shape it also has a "W" inlay. The neck is cut down to rough size. The fretboard is cut, slotted, & the dots are inlaid and it is glued on the neck. The whole thing is starting to look like a guitar..

I also routed the binding channels into the body and bent the binding so I can get started on them. It is going to be a bit tricky mitering all the joints around the arm bevel but I think I have it figured out.

Cutting the peghead to shape with a drill press router

Fretboard bound & ready for dots

All bolted together


Peghead inlay


Sunday, October 26, 2014

Tenors.....

The weather is still not great for building. The RH in the house needs to drop another 10% but it is on the way.. In the mean time I'm getting as much done as I can..

Both Tenors, the Uke and the Guitar are moving along, if a bit slowly.. I bent the sides for the Tenor guitar today and the Uke is going OK as well..

Headstock inlay for the Uke

Routing the Headstock shape with a drill press router,
nice & safe for me and the headstock

The completed result

End wedge in the Uke

Roughed out neck

Rough work done with the table saw, first time I've tried it

Bending guitar sides

Done, first time bending Zircote, it is actually pretty easy,
which is good considering the cost...


Monday, April 21, 2014

Sanding & Pore Filling & Deja Vu

So I have been doing stuff.. I had "issues" with the neck angle on the parlour guitar once everything was glued up so had to remove the fretboard and remake it as well as sort of the neck angle. The neck angle is now perfect and the fretboard almost remade, it just needs frets. I also took the opportunity to do a bit of headstock inlay on the parlour and that worked out well.

This should look familiar

First try inlaying in anything other than ebony
I also did the finish sanding on Rick's tenor and did the first coats of pore fill on the back & sides, they will probably need two more coats.. I'm using z-poxy as a pore fill I like it as it is pretty forgiving..


Nice clean & simple looking

and the back


Friday, March 28, 2014

Finishing the Celtic Inlay

SO next steps were to route the cavity for the inlay, glue it in using 5 minute epoxy mixed with lamp black and sand it smooth. Sound simple and it actually is not too bad to do.. Using a 2:1 pantograph helps as the movements of the dremel tool are more controlled.

There are so many little cavities in this inlay that no matter what you end up chipping out some of them as you can see on the left in one of the photos but that is what the lamp black is there to fix :-)

Pantograph set up

All routed

Glued in

Sanded smooth


Thursday, March 27, 2014

Cutting Shell

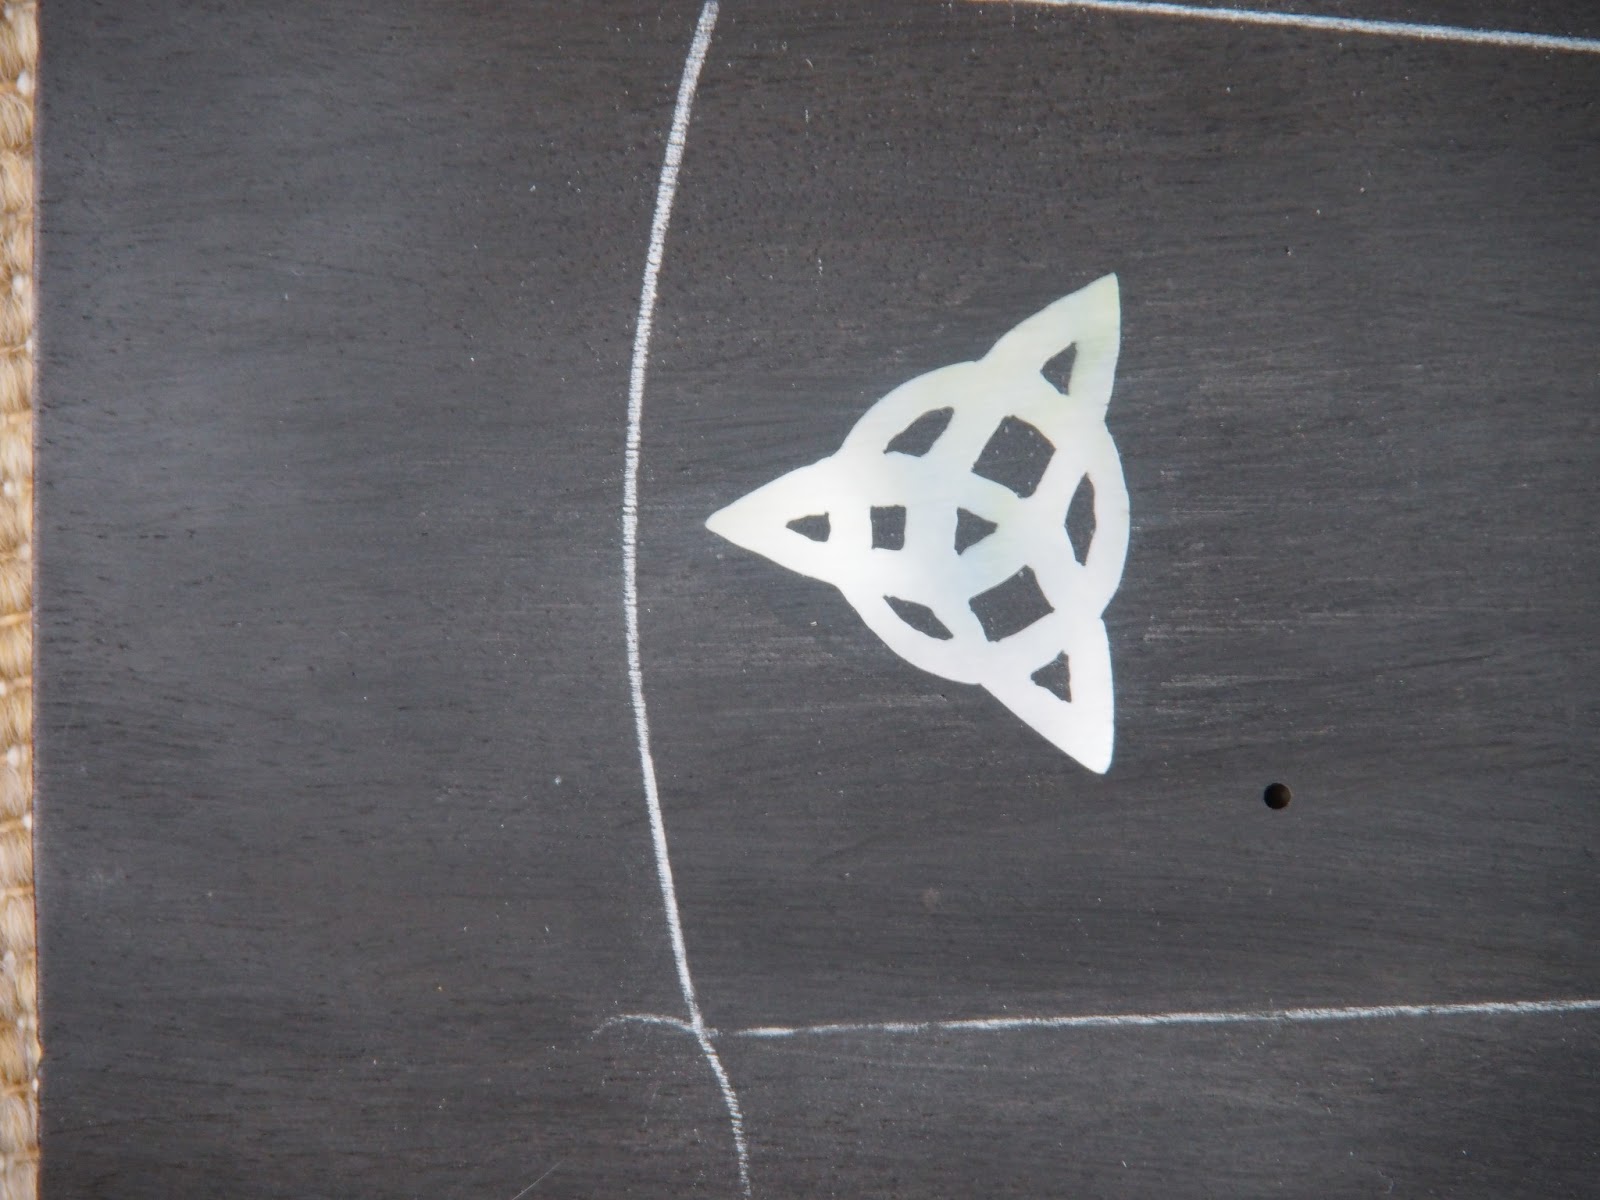
Rick's tenor guitar will have a Celtic knot inlay on the peghead. Tonight I cut that out & got ready to route the cavity in the Ebony peghead overlay.

I used a finer jeweller's blade than on previous inlays and that seemed to work better.

For routing the cavity I'll use the Pantograph I previously made and a twice life size pattern. I've done a test and it works well.. I do the real routing tomorrow.

Pattern laid out and ready to cut

And cut

Twice size pattern for the pantograph
I should say the twice life size pattern was made using the "big print" program from www.woodgears.ca, the pantograph idea also came from there.

Saturday, March 2, 2013

Cutting Shell and Inlaying

I've done one simple inlay before, since this is what I call a Celtic tenor guitar should have a Celtic inlay.. So gave that a try.. The inlay will go on the peghead.. I tried a couple of methods to cut the shell but in the end went with the tried and true jeweler's saw and needle files..

I considered trying to leave some wood in the voids between the arms of the design when I routed out the opening but decided they were so small it would be impossible. So I routed out the entire shape and glued in the shell with 5 minute epoxy coloured liberally with lamp black.. Left everything a little high then sanded smooth..

All in all I think it worked out good!


V block & Jeweler's saw with the cut out design
Just sitting on top of the neck

the pocket for the shell routed

glued in and filled with epoxy and lamp black

sanded smooth


Tuesday, October 30, 2012

Inlay

My first attempt at doing some inlay work other than simple fret markers. Turned out OK, the actual cutting the shell and routing the cavities was easier than I expected. All in all a positive experience and I will be doing more and probably more complex as well.

Inlay scored and outlined with chalk

Cavities routed

Dry fitting

Glued in

Completed and sanded