OK for Rick's tenor I thought I would get away from the random rosette and go with an 8 piece with black purfling between the pieces and around the rosette..
Since the back and sides are Black Walnut and I have a couple of chunks of that laying around, that's what got used..
First cut some thin strips on the table saw. then cut those strips into pieces with a 22.5 deg angle on each side..
Then glue the pieces together with a 1mm strip of black purfling between each..
.JPG) |
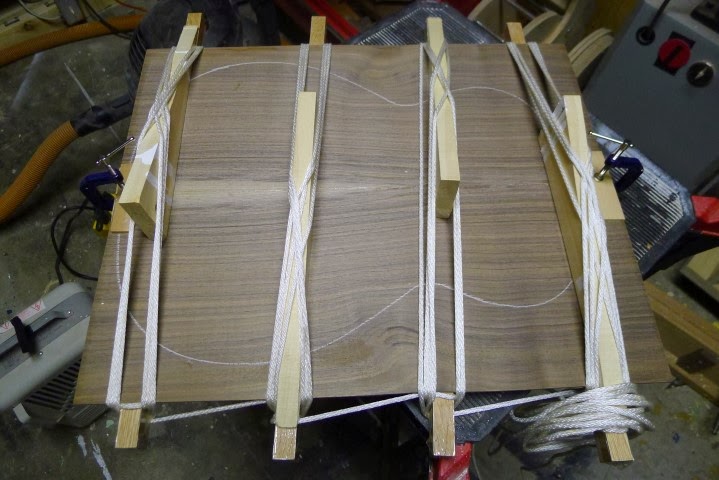
| Glued up (fish glue) |
.JPG) |
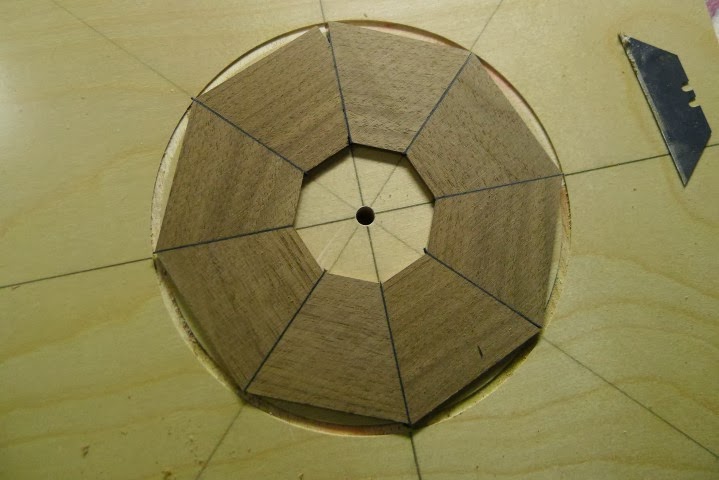
| all cleaned up |
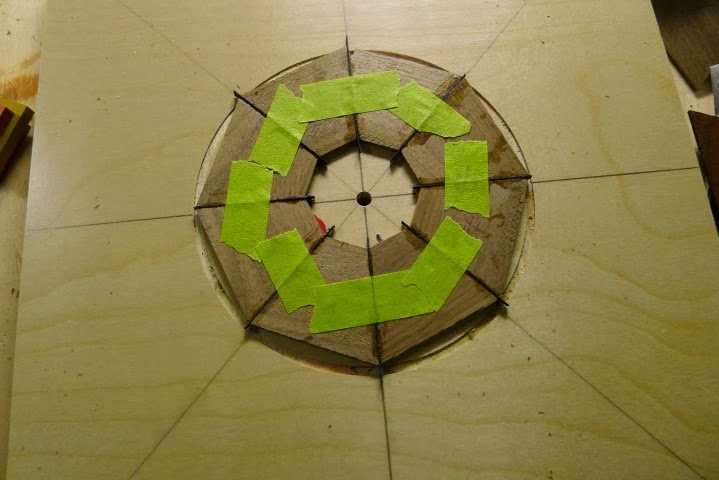
Then secure the whole thing a route out the rosette shape
Turned out pretty good, one piece came apart during the routing, but re-glued and that gets to be the part under the fingerboard extension :-)
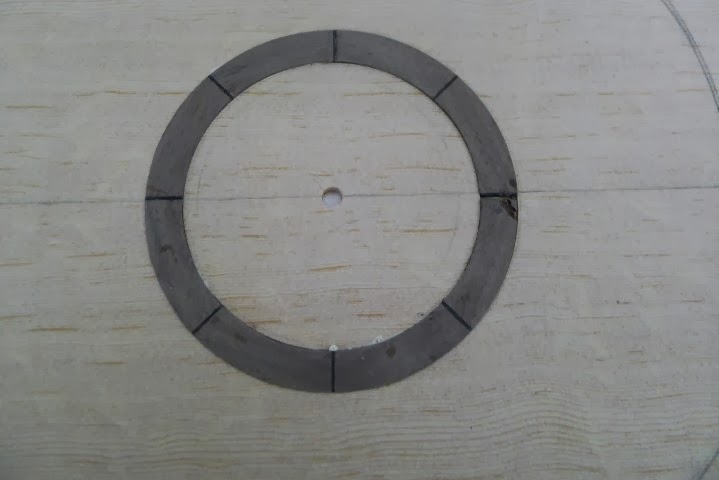
Next Step is to route the channel into the top..
.JPG)
.JPG)
.JPG)

.JPG)
.JPG)
.JPG)
.JPG)
.JPG)
.JPG)
.JPG)
.JPG)
.JPG)

.JPG)
.JPG)
.JPG)
.JPG)
.JPG)
.JPG)
.JPG)
.JPG)
.JPG)
.JPG)
.JPG)
.JPG)
.JPG)
.JPG)
.JPG)
.JPG)
.JPG)