After much thinking about it and weighing pros & cons I decided to buy a small desktop CNC machine.. In my budget range all the fully assembled commercial models were pretty much out of the question. Which left a couple of options, one of which was piece build one from scratch. Which is not really something I wanted to dedicate the time to. I could also buy one of the open source machine kits that required assembly but had all the parts.
My options in this area were the Shapeoko 3 or the X-carve. Now the Shapeoko is a bit bigger and a few dollars less but as of this second the X-carve has a bit better user community (IMHO) and has the online Easel software which reduces the learning curve. So since size is always an issue with me and I don't want to spend a ton of time learning how to use G-code I picked the X-carve.
Everything came packed a labeled very well just like everyone says. There were no missing parts.
Inventables on line assembly instructions are really quite good, it is obvious in a few spots that the kit has changes since the instructions were written but nothing you can’t follow. The Mechanical assembly instructions are great, the electronic assembly instructions have a few unclear or somewhat contradictory spots, but all in all good and everything for me worked the first try. Total assembly time was about 8-9 hours.
I did find some things that seemed wrong, the Y axis drag chain instructions for the clip see backwards but the whole Y axis drag could be better I think.. Also wiring instructions for the stepper motors seem backwards at least when I read them they do. I followed the pictures.. Software installation for the Arduino is odd, it says don’t install the sketch program or it will overwrite the Arduino firmware but I don’t see how not to install it. So installed it the un-installed everything which left the USB drivers which is all you need (do this without being connected to the Arduino). The only other problem I had was connecting the G-shield to the Arduino. It did not fit well in the enclosure so it was difficult to plug in..
Another comment is some of the wiring steps are bit fiddly and if you follow things to the letter it does not come out all that neat IMHO, I will probably go back and do some clean up..
So does it work.. Yes it does. It worked for me first try for a simple operation. I’ll have to try some more complex stuff in the next while but time is short these days so we will see how it goes..
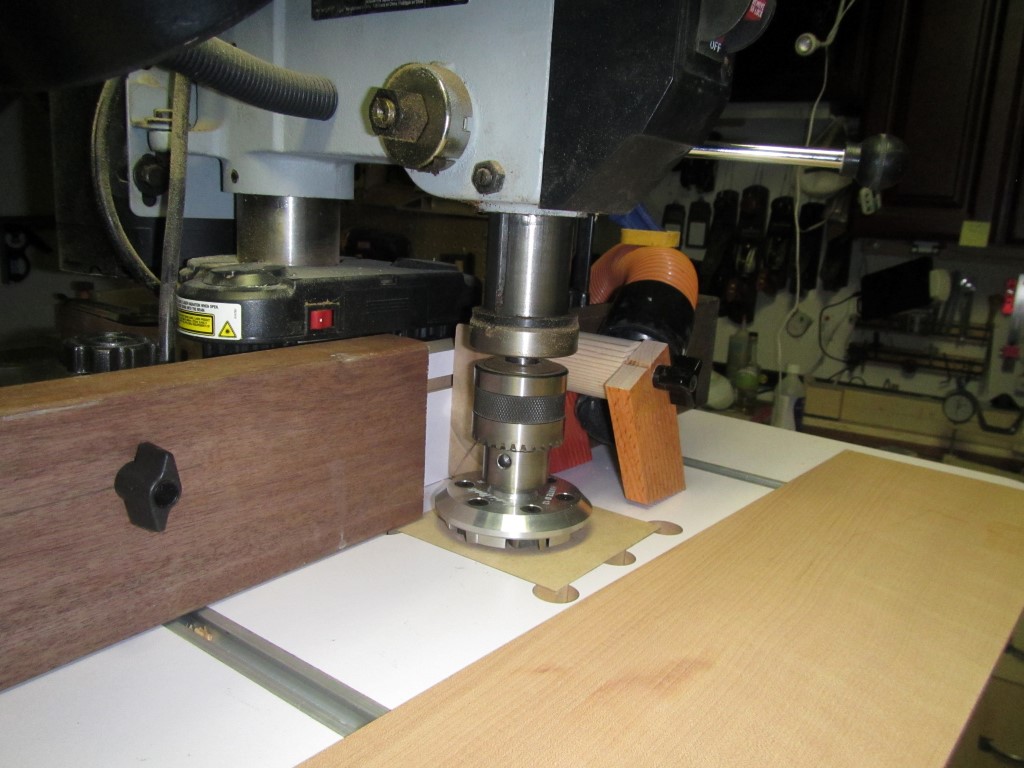
I plan to use this for inlay & small parts so that coupled with the limited space I have meant I got the 500mm model. I also got the 24v DC spindle.. I can see how if I wanted to do serious carving that might be a bit light and a dewalt or other router upgrade would be better.
All in all so far I’m pretty darn happy…