Pages

Saturday, January 31, 2015

Making Good Progress

I've done a fair bit of work over the last week. The neck has a peghead veneer, and the peghead is routed to shape it also has a "W" inlay. The neck is cut down to rough size. The fretboard is cut, slotted, & the dots are inlaid and it is glued on the neck. The whole thing is starting to look like a guitar..

I also routed the binding channels into the body and bent the binding so I can get started on them. It is going to be a bit tricky mitering all the joints around the arm bevel but I think I have it figured out.

Cutting the peghead to shape with a drill press router

Fretboard bound & ready for dots

All bolted together


Peghead inlay


Saturday, January 24, 2015

Two Pieces Become One, At Least for Now..

I've finished the neck joint and test bolted everything together, it needs a little adjusting but I'll do that tomorrow.. T some point I'll post full explanation of the neck joint..


Friday, January 23, 2015

Moving on with the Neck

Time to sort out the neck and it's attachment to the body. Remembering this will be a fully removable neck..

The neck is a 5 piece one of Peruvian Walnut & Maple..

The Neck with the scarf joint & stacked heel. All still oversized

Top View -- slot is for carbon fiber reinforcement 

I'll explain more about this when it is finished but basically a floating tenon neck joint


Test fitting......


Sunday, January 18, 2015

Closing the Box

The tenor guitar now has a complete or at least closed body.. Still needs some bindings and an arm bevel carved and veneered....

Got the use all the new clamps I got which worked great.

Now on to sorting out the neck & my new neck joint.

All clamped up with finally enough clamps


Front view

Back view

Thursday, January 8, 2015

Back to Work on the Tenor Guitar

Now that the holidays are over i can get back to doing some work on the tenor guitar.

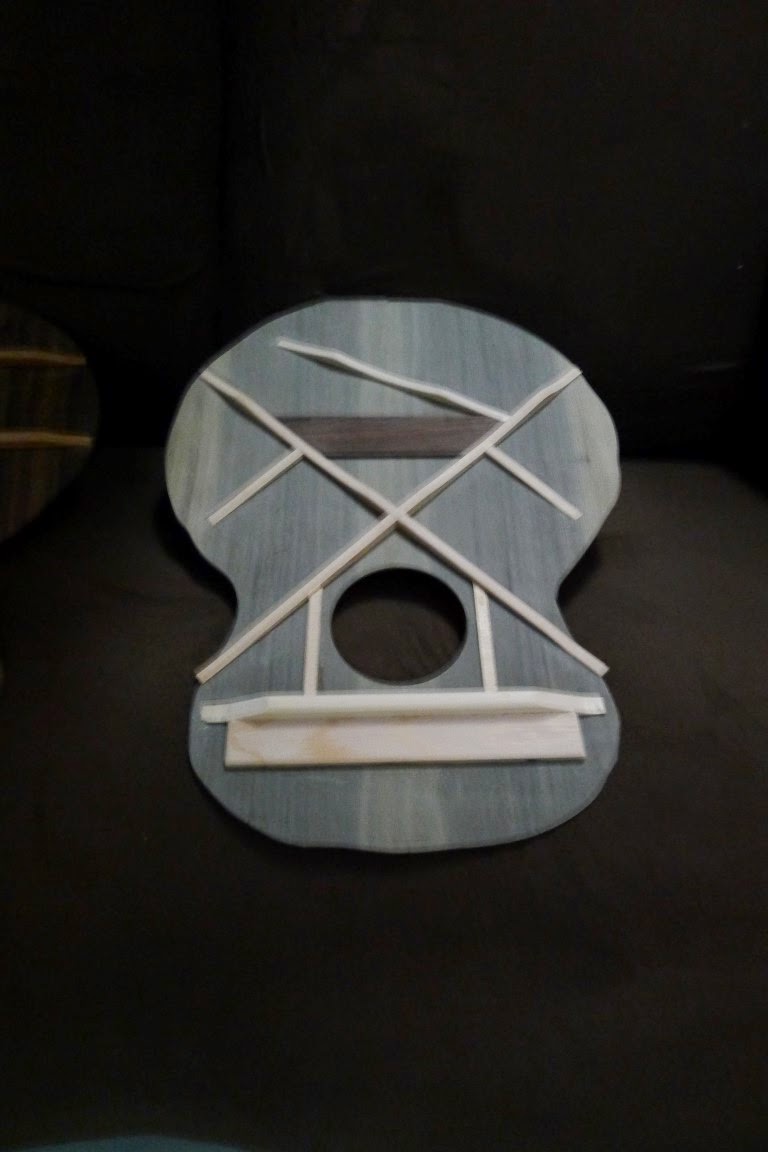
I've glued down the braces on the top and back and carved them to shape and the top is more or less voiced, I just need to think a bit about it and decide if I want to try and push things a bit farther and carve the braces down a bit more.

A "quick" video of rough carving the back braces, actual time about 18 minutes
http://youtu.be/pNuLS7FQ8tQ

The rough braces before carving

Top after carving

Back after carving